Below are various step shots of converting a Confrontation human warrior into
a morphic raccoon warrior mage. Anything is possible in the modern era!
Note: You may click on any picture to view a larger picture (you will have to
use the "back" button on your browser to scroll back to this window).
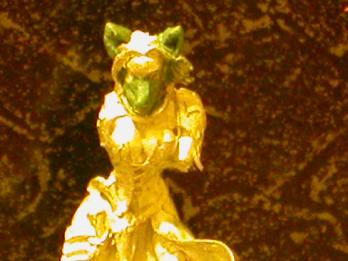
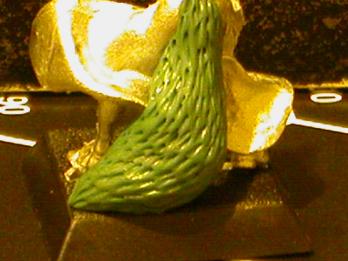
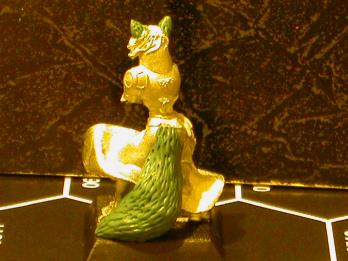
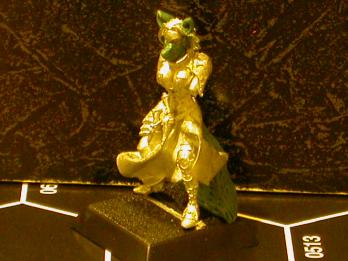
| Here are the raw shots of the Nikon figure conversion.
The arms and staff have not been glued on yet now has the figure been
primed. You can clearly see what has been added to the figure by "greenstuff"
(Kneadatite). |
 |
 |
 |
 |
|
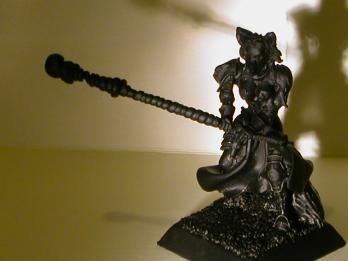
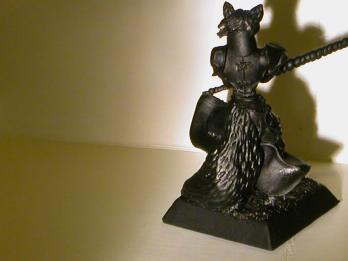
| The Nikon figure prior to painting. The arms and
staff have been glued on, the base has been textured with fine railroad
flock, and the entire figure has been primed black. This is an
important test page as one wants to make absolutely sure that one cannot
tell where the figure is and where the greenstuff is. In other
words, this is a final check for flaws in the greenstuff sculpting that
needs to be fixed. In this case no flaws were found. |
 |
 |
|
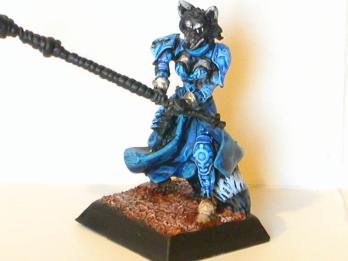
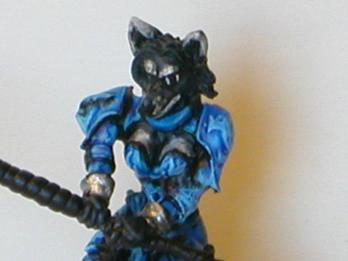
| These pictures show the completed first stage of
painting. The base colours have been done, and the base colours of
the textured base. The staff hasn't been started yet. In
this version, the 'mask' on the racoon face didn't quite work. It
would later be adjusted slightly. |
 |
 |
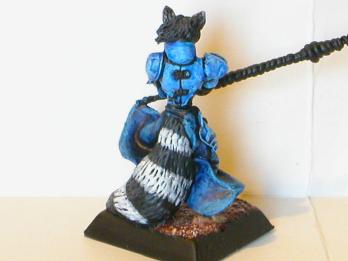 |
The blue was obtained by painting a medium blue, and then
drybrushing lighter layers of blue and finally white, and then coating
the entire surface in a 50/50 mixture of dark blue ink and floor wax.
The robes below the waist were painted using slightly darker blues and
washed with a mixture of dark blue ink, black ink, and floor wax to give
a slight colour differentiation. The black was drybrushed a very
dark gray, and the white was carefully 'splotched' on using the bristles
of the brush to give a bit of speckled/fur feel to the surface. A
extremely waxed down mixture of black ink was applied over the white on
the face to decrease its brightness. |
|
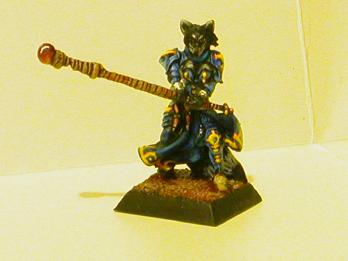
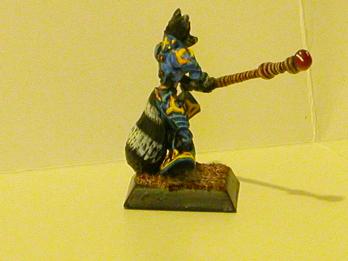
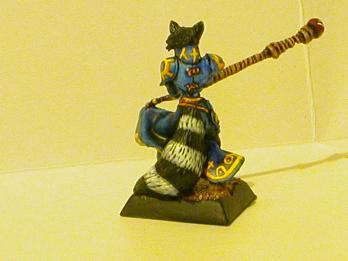
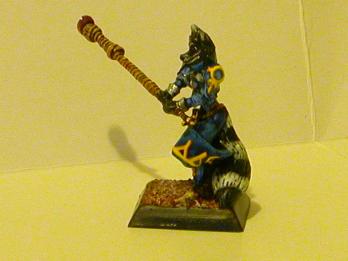
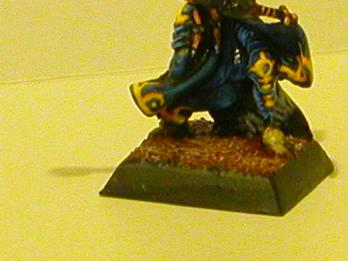
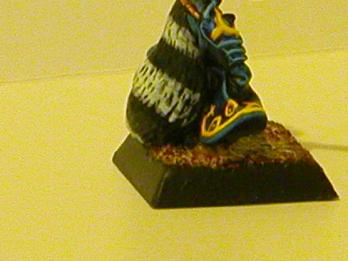
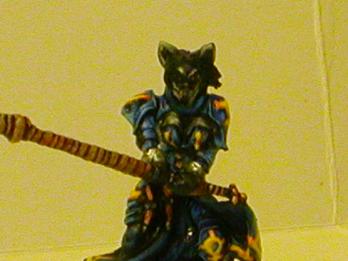
| At this point the detailed painting is finished.
The mask on the face has been touched up so that it looks more like a
racoon mask, all of the scrollwork on the body has been painted, and the
runes along the edge of the robes have been painted. The staff and
gem on the end have also been painted. All that is left to do is
detailing of the base, and glosscoating appropriate parts of the figure
(nose, eyes, gem). This pictures were taken to allow final
approval of the figure before completion. |
 |
 |
 |
 |
 |
 |
 |
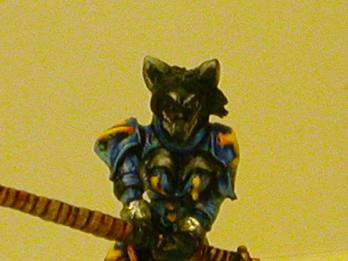 |
| The scroll work was achieved by painting the lines in
orange, then a yellow-orange except for the deepest points, and then a
yellow lightly applied to give an illusion of depth. The staff was
drybrushed progressively lighter layers of brown and then coated in a
50/50 mixture of brown ink and floor wax to delineate the lines.
The bottom was painted in bronze, brown ink/floor wax, and then gold for
the highlights. The gem was painted a dark red, and then carefully
drybrushed with lighter and lighter shades of red/orange/yellow on the
lower half to provide the illusion of semi-transparency. Curved
light reflection lines were painted in white. The two pistols were
painted layers of brown and then the metal barrel, trigger, and flashpan
were painted metal. |
|
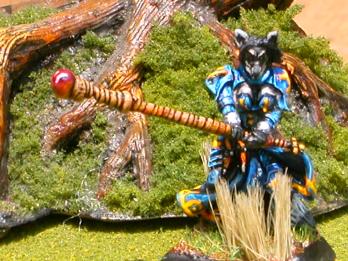
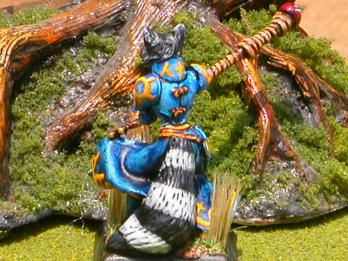
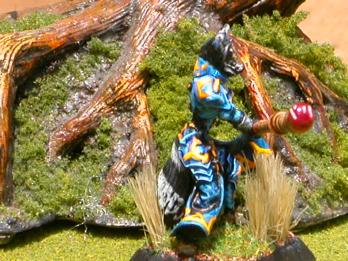
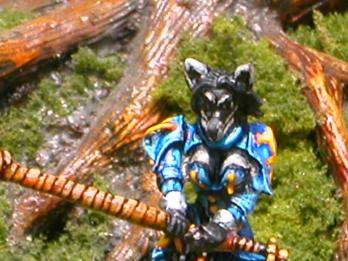
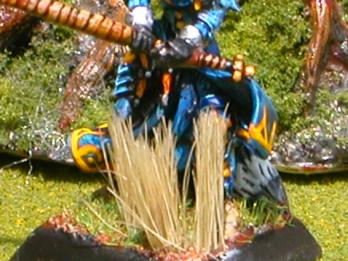
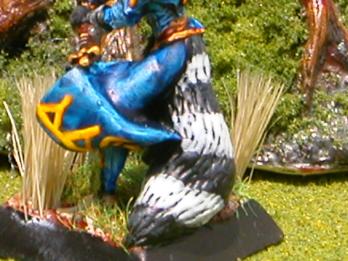
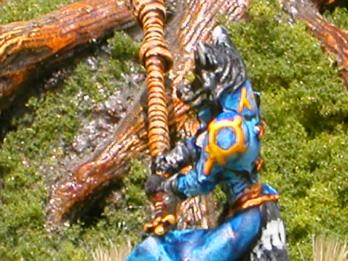
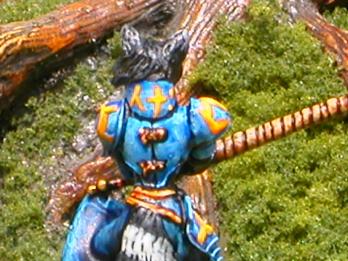
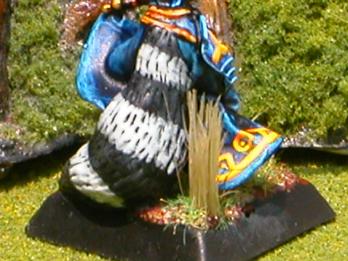
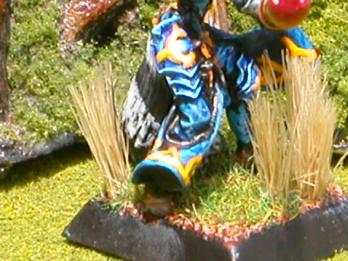
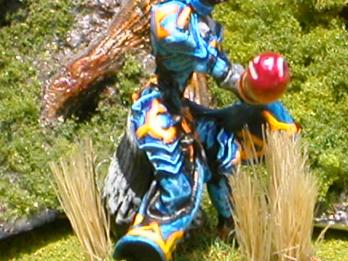
| The completed Nikon figure. The gem, eyes, and
nose have been glosscoated, and the base has been detailed with both
static grass and upright grass. And, as there was finally some
decent weather, the pictures were taken outside in bright sunlight
(something unavailable in earlier stage shots). |
 |
 |
 |
 |
 |
 |
 |
 |
 |
 |
 |
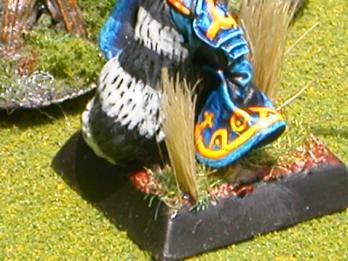 |
| The static grass (the green stringy stuff on the base)
was applied by brushing a thinned layer of white glue and then pouring
static grass (available from railroad hobby stores) onto the base.
The excess was tapped off by holding the figure upside down and tapping
the bottom. This also encourage most of the static grass to stand
upright and set in the glue layer. The upright grass (the tall
clumps) are collections of bristle from a cheap brush cut off. A
blob of superglue is stuck on the base and then the clump of bristles
are stuck in the superglue. |
|


